Update Firmware
Why update the firmware?
To take advantage of the latest features of the QuattroPod, you can quickly and conveniently install the latest firmware update via the internet. When installing new firmware, the previous settings will be preserved.
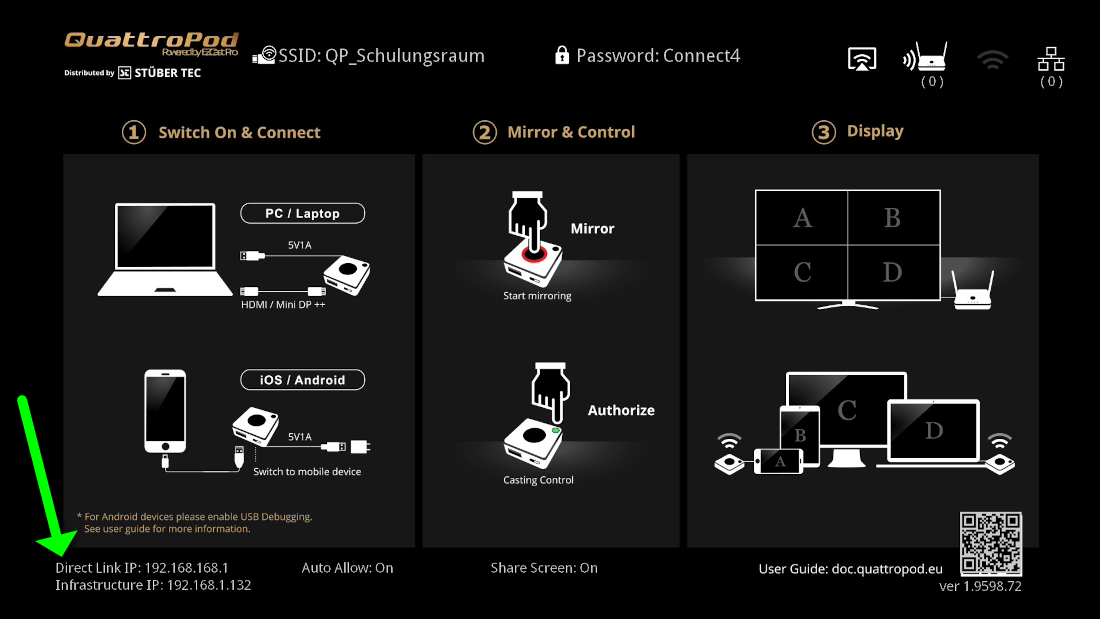
You will need an internet connection or access through your router. If the QuattroPod is connected to your LAN or Wi-Fi, an IP address assigned by your network will be displayed on the screen as Infrastructure IP, as shown below:
Connect and power on the transmitter
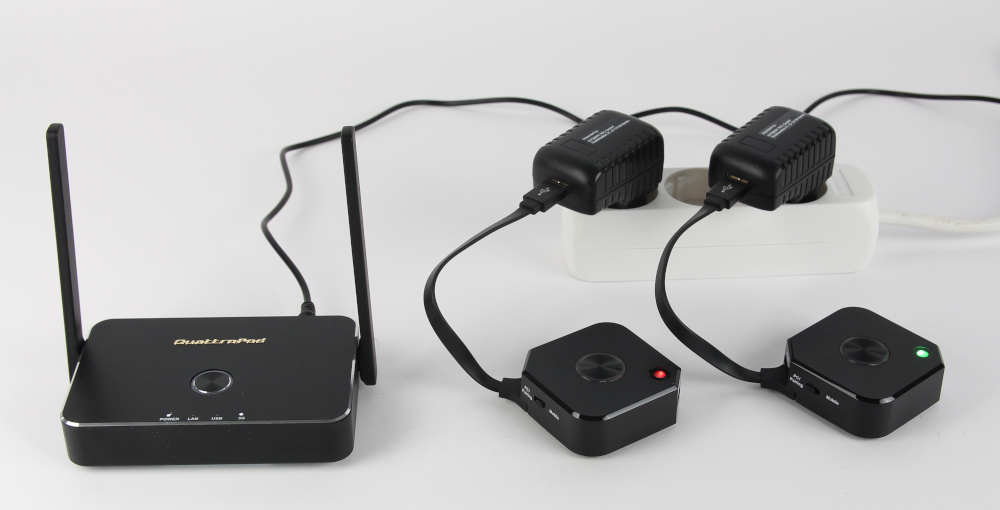
When performing a firmware update, it is important not to overlook the transmitters. Make sure the receiver and all transmitters are kept at the same firmware level.
Log in via the web interface
The update is carried out through the web interface in any web browser.
- Note the IP address displayed at the bottom left of the home screen.

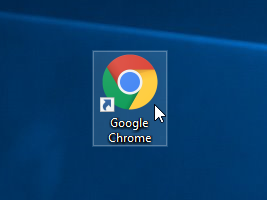
- Now open your web browser.
- Click in the browser’s address bar and enter the IP address of the QuattroPod.

- After pressing the Enter key, the settings interface of the QuattroPod should appear. Enter the password. By default, it is
000000. If this password is not accepted, you will need to reset to default settings.
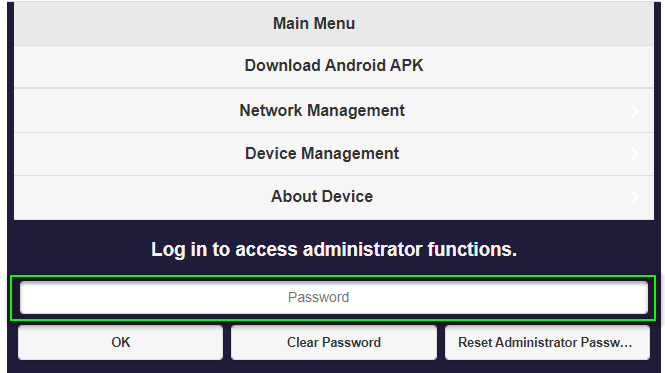
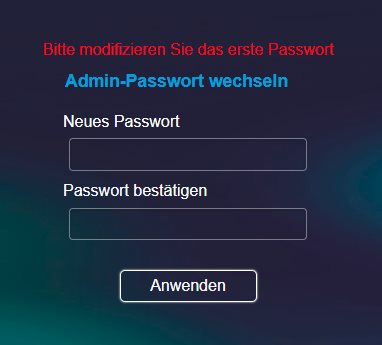
- During the first login, you must change the admin password. After that, you will need to log in again.
Start update
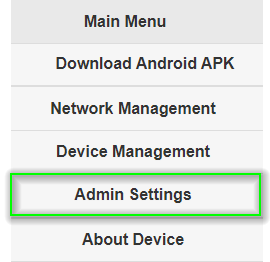
- Click on
Admin Settings:
- Click on
Update:

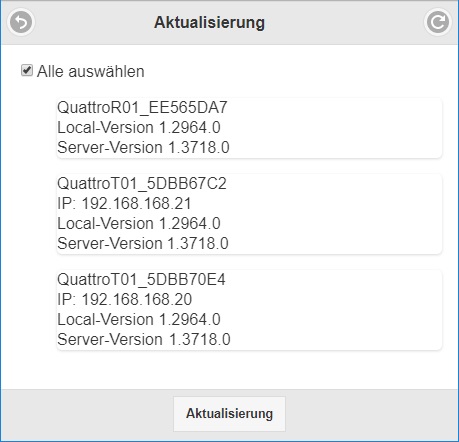
- To start the update, check
Select all, then click onUpgrade.
Note
If the transmitters cannot connect to the receiver after the firmware update, they must be paired again.
Install firmware via internet using CMS
With the CMS (Central Management System), you can install the latest firmware from the internet on multiple EZCast Pro II or QuattroPod devices.
- If a new firmware for the receiver or transmitter is available, the message
 appears next to the device:

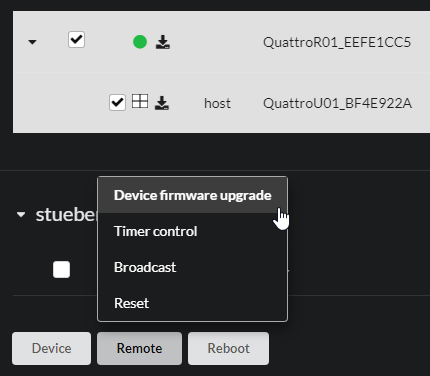
- Select the desired devices, then click on the
Remotebutton -> and choose theDevice firmware upgradefunction.
- Under the
OTAtab, simply click theApplybutton to perform the update:
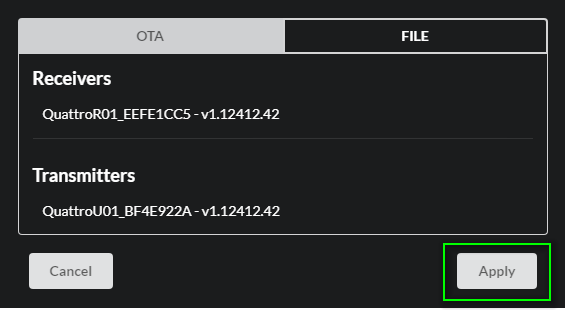
The new firmware will be downloaded and automatically installed.
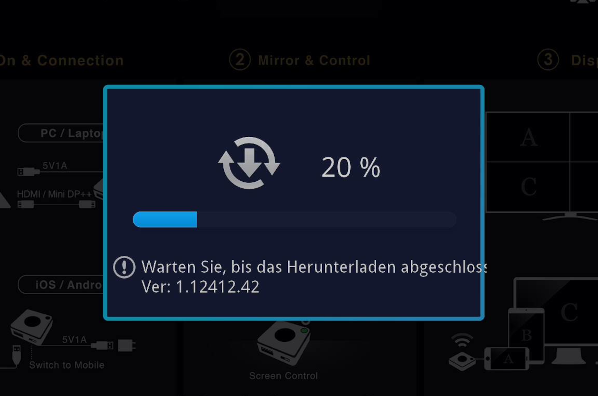
- During the transmitter update, the following message appears:

- During the receiver update, the following message appears:
Warning
Do not interrupt the power supply during the update.

Note
If the transmitters cannot connect to the receiver after the firmware update, they must be paired again.
Install firmware without internet using CMS
The CMS (Central Management System) also allows you to install the latest firmware on devices that are not connected to the internet. Please use the links below to download the firmware for your devices in advance:
| Devices | Download |
|---|---|
| QuattroPod Standard Receiver (R01) | Download |
| QuattroPod Mini Transmitter (T02) | Download |
- Select the desired devices, then click on the
Remotebutton and choose theDevice firmware upgradeoption.

- Under the
FILEtab, select the firmware file you downloaded earlier:
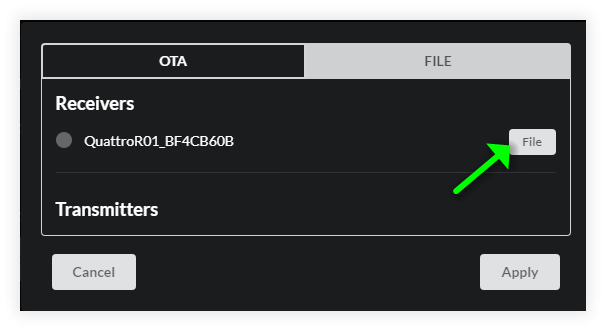
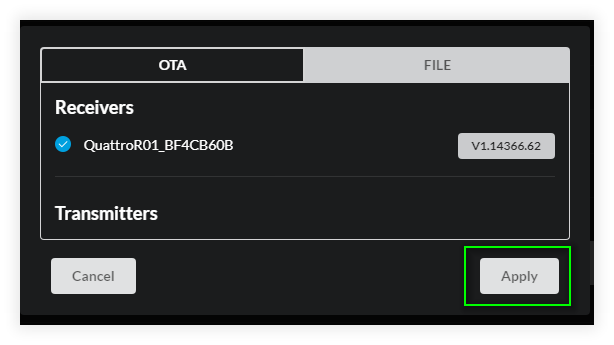
- Click on the
Applybutton to perform the update:
- During the transmitter update, the following message appears:

- During the receiver update, the following message appears:
Warning
Do not interrupt the power supply during the update.

Note
If the transmitters cannot connect to the receiver after the firmware update, they must be paired again.