Advanced Settings
With the Advanced Settings feature, you can update the firmware and conveniently adjust many settings of the QuattroPod remotely.
Open Advanced Settings
- Connect your device to the QuattroPod, either via the QuattroPod's SSID or through the same Wi-Fi/LAN infrastructure the QuattroPod is connected to:
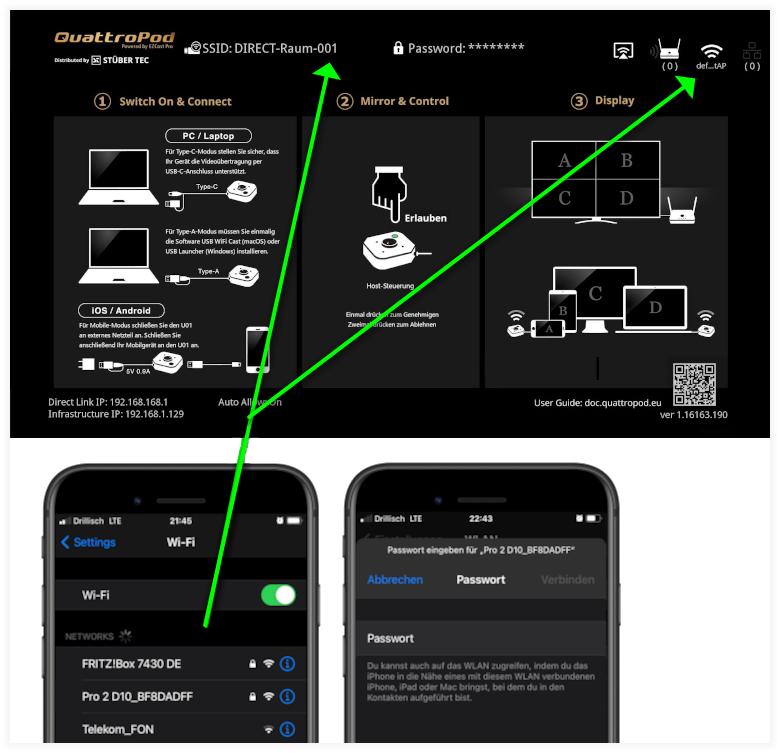
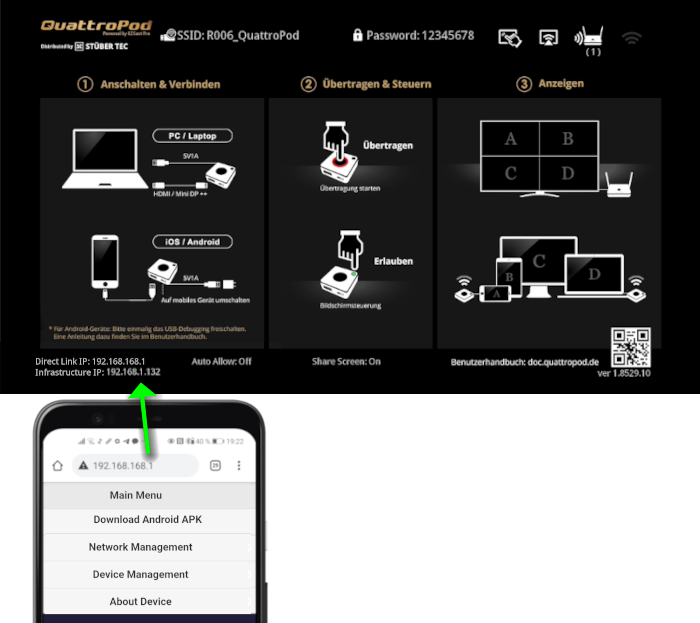
- In the address bar of a web browser, enter the IP address of the QuattroPod, either the
Direct Link IPor theInfrastructure IP, depending on which your device is connected to. The QuattroPod settings interface will appear:
Log in as Admin
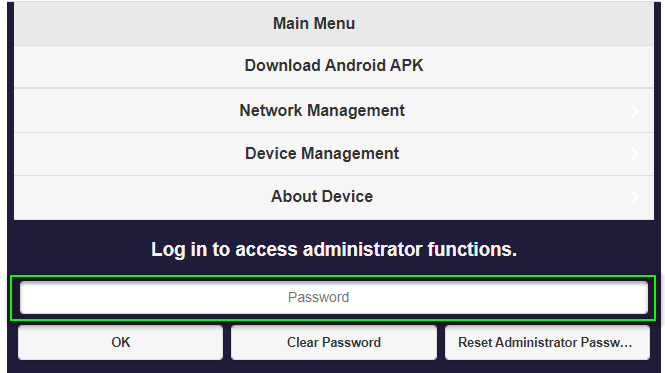
- Enter the admin password and click
OKto log in. By default, the password is000000. If this password is not accepted, reset the device using the reset switch.
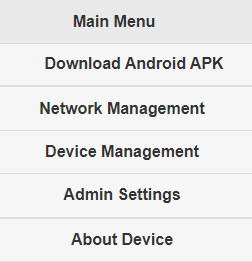
The following features are available:
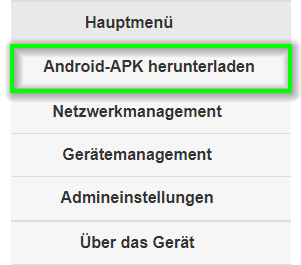
Download Android APK
Use this option to download the Android APK file from the receiver and manually install the QuattroPod app on an Android device. When running an APK file, you may need to grant permission for security reasons, e.g., in Settings | Security.
Network Management
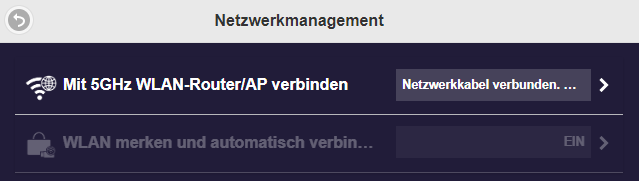
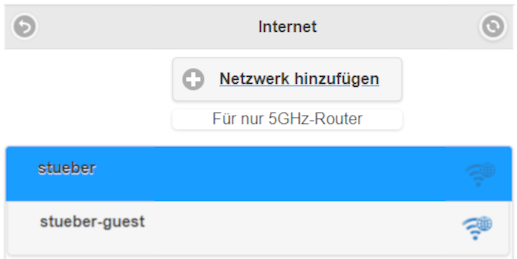
Connect to 5GHz Wi-Fi Router/AP
If you prefer to connect the QuattroPod via a wireless access point to access the Internet, you can find the option here.
More details in our Connect via WLAN/LAN user guide.
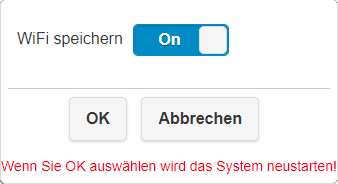
Remember Wi-Fi
Defines whether the QuattroPod should automatically reconnect to the Wireless Access Point after a reboot.
Device Management
This section helps you change the interface Language, the Resolution, or define the Max. Connections. You can also Download the pairing file for receivers and transmitters.
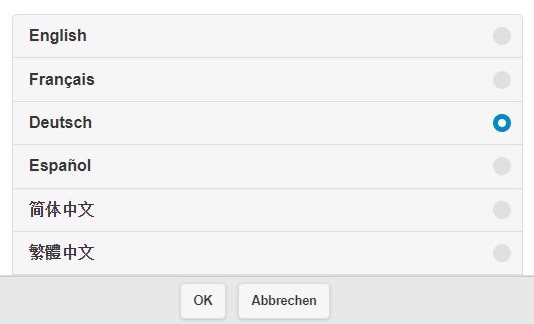
Language
In this section, select the desired display language for the web interface.
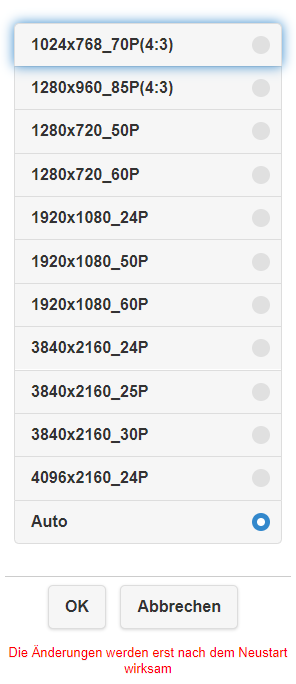
Resolution
Select the output resolution of the QuattroPod here. You can choose a specific resolution or simply select Auto, and the QuattroPod will automatically set the optimal resolution for your screen.
| Standard | Resolution | Hz |
|---|---|---|
| HD | 1280 × 720 | 60 |
| Full-HD | 1920 × 1080 | 60 |
| 4K UHD | 3840 × 2160 | 30 |
| DCI 4K | 4096 × 2160 | 24 |
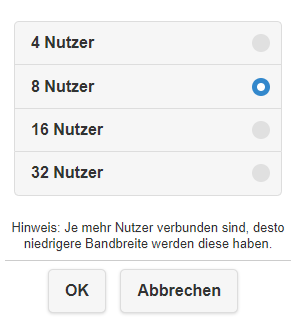
Max. Connections
Specify the maximum number of users for the receiver.
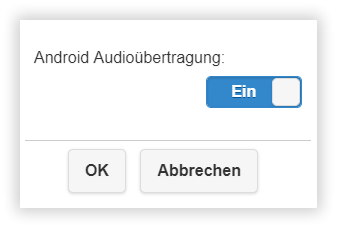
Android Audio Streaming
Enable Android Sound Streaming through the Android app here.
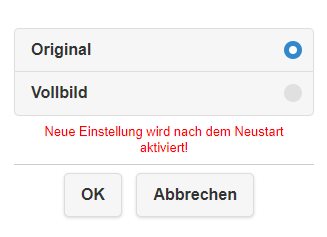
Display Mode
Define whether the display of your device should appear on the external screen or projector in Original or Full Screen mode.
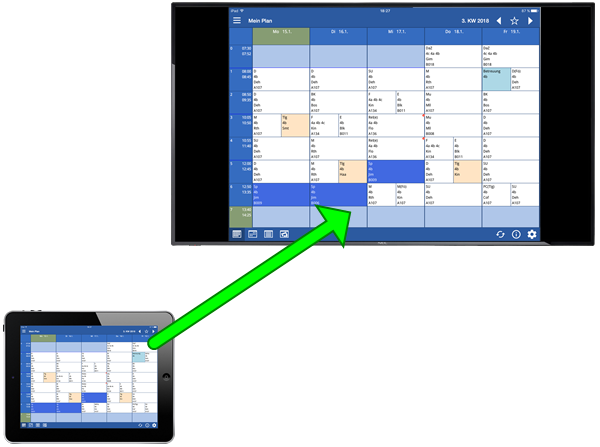
Original
In Original mode, the original aspect ratio of the device (e.g., an iPad) is preserved on the external screen or projector:
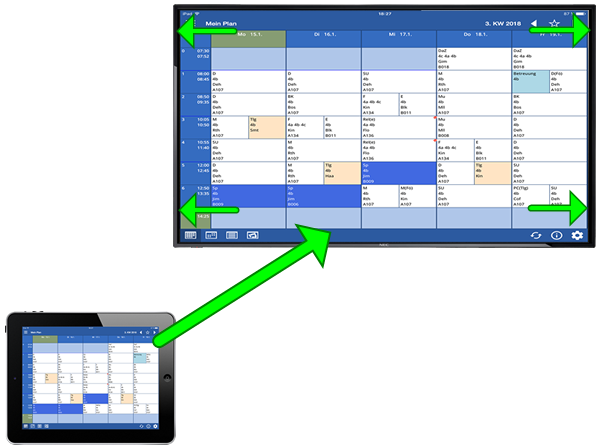
Full Screen
In Full Screen mode, the input from the device is automatically adjusted to match the aspect ratio of the external screen or projector:
Timed Restart
To optimize the performance of the QuattroPod, especially for devices in continuous operation, enable the Timed Restart function. The receiver restarts automatically if the following conditions apply:
- The QuattroPod has been inactive for 2/4/8 hours.
- All transmitters have been off for at least 2/4/8 hours.
- Neither AirPlay nor the Android app has been used for 2/4/8 hours.
- The settings web interface has not been accessed for 2/4/8 hours.

Admin Settings
In this section, you can update the QuattroPod to the latest firmware, reset to default settings, and configure other advanced settings.
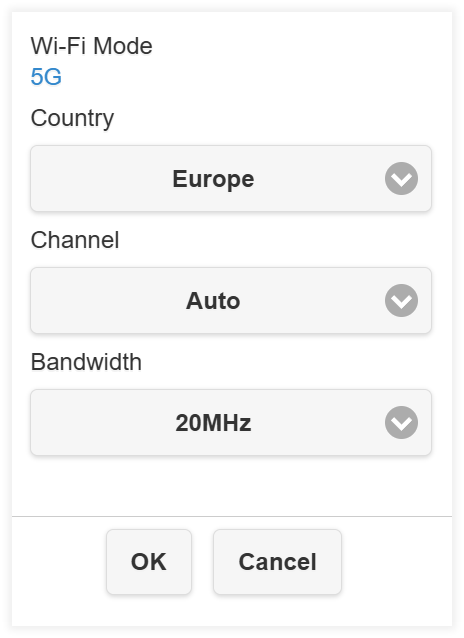
Wi-Fi Channel
To avoid interfering Wi-Fi signals, you can adjust the Wi-Fi mode.
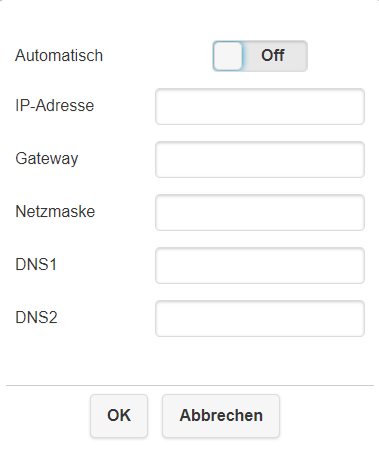
LAN IP Settings
Assign a static IP address to the receiver's LAN port.
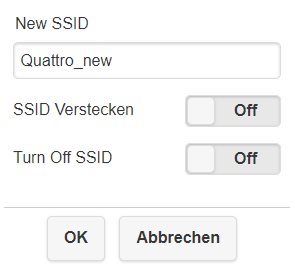
Device Name / SSID Name
Here you can rename, hide, or disable the SSID of the receiver.
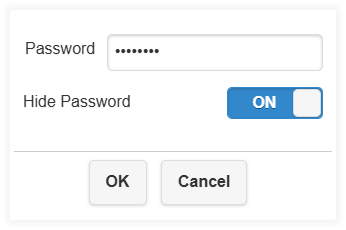
Password (for Wi-Fi)
For security reasons, the password can be changed or hidden.
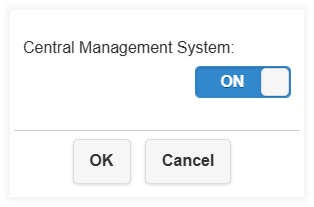
Central Management System
Enable support for the central management system (CMS) here.
Conference Control
With conference control, you can perform the following tasks:
- Disconnect all devices
- Assign the role of host or moderator to a guest
- Reposition devices on the screen
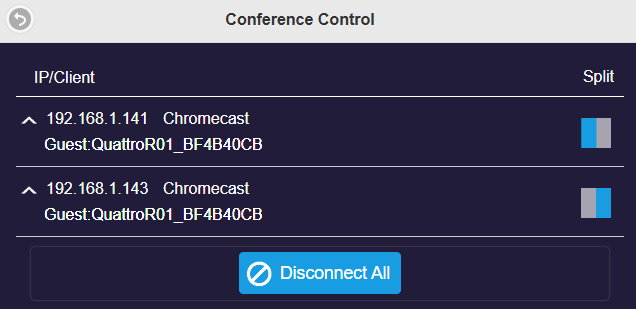
Comprehensive information can be found here.
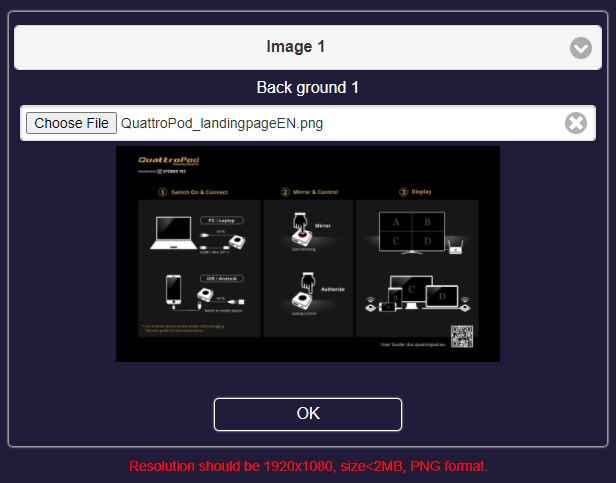
My Screen
Replace the start screen background with up to two custom background images. With two images, they automatically rotate every 10 seconds.
Download our pre-installed background images from the recommended settings.
Dynamic Wallpaper
The dynamic wallpaper is a function that starts automatically after a set inactivity period, showing a collection of images or videos on the screen.
A full guide on using dynamic wallpaper is available here.
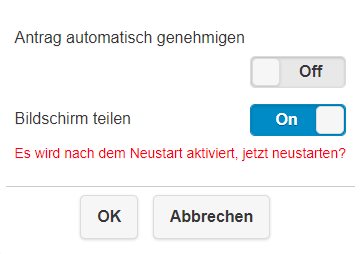
Host Control
Auto Allow Requests
The first connecting user is designated as the host, and others as guests. By default, every send request must be approved by the host by pressing the control button on their transmitter. If Auto-approve request is set to On, requests are automatically approved. More details in our Transmitter Operation user guide.
Share Screen
By default, this feature is enabled. This allows up to four devices to display on the screen at once (split-screen mode). If disabled, the next approved sender will take over the full screen.
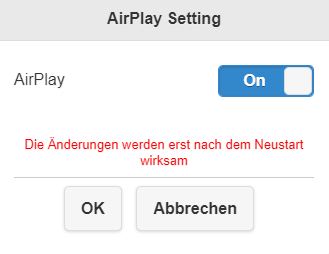
AirPlay
With an iOS/macOS device, you can also share your screen directly via Apple AirPlay. In this case, no QuattroPod transmitter is needed.
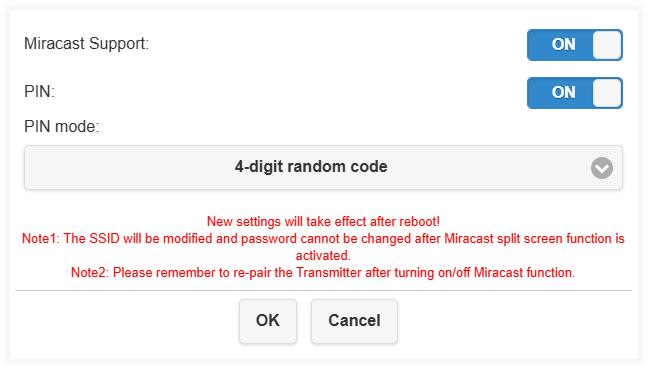
Miracast
Support screen sharing from Miracast devices. A full guide is available here.
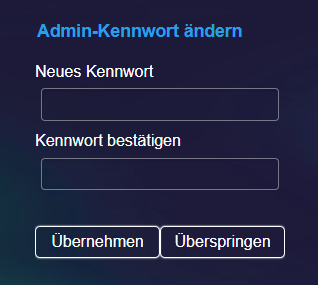
Admin Password
Change the receiver's admin password.
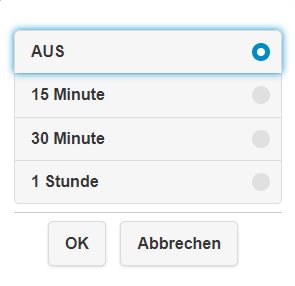
Screensaver
Turn off the screen or HDMI output of the receiver after a set period of inactivity. This feature is disabled by default.
Inactivity means the start page is displayed, and no transmitters are sending content.
During screensaver mode, the receiver stays active. The web interface remains accessible, and transmitters can still connect.
Wake the receiver or restore the HDMI output by resuming transmission from a sender.
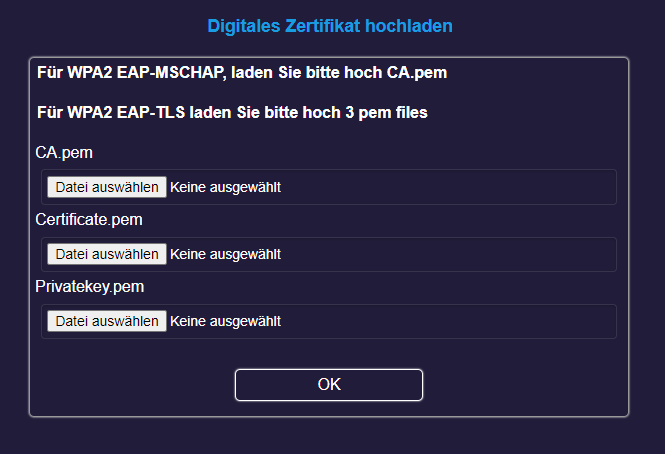
Enterprise Wi-Fi
Upload a digital certificate.
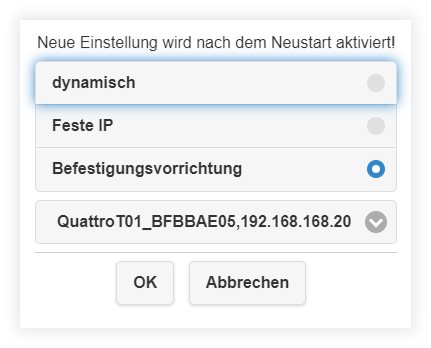
Fixed Host
Assign a specific user or transmitter as the host of the presentation. Full guide here.
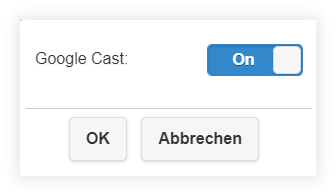
Google Cast
Support casting from ChromeCast devices. Full guide here.
Cast Code Control
Define whether every guest must enter a four-digit code via the Android app or AirPlay before sharing content.
OFF- No passcode is requiredRandom- Changes regularlyFixed- Use a specific cast code
The cast code is displayed here:
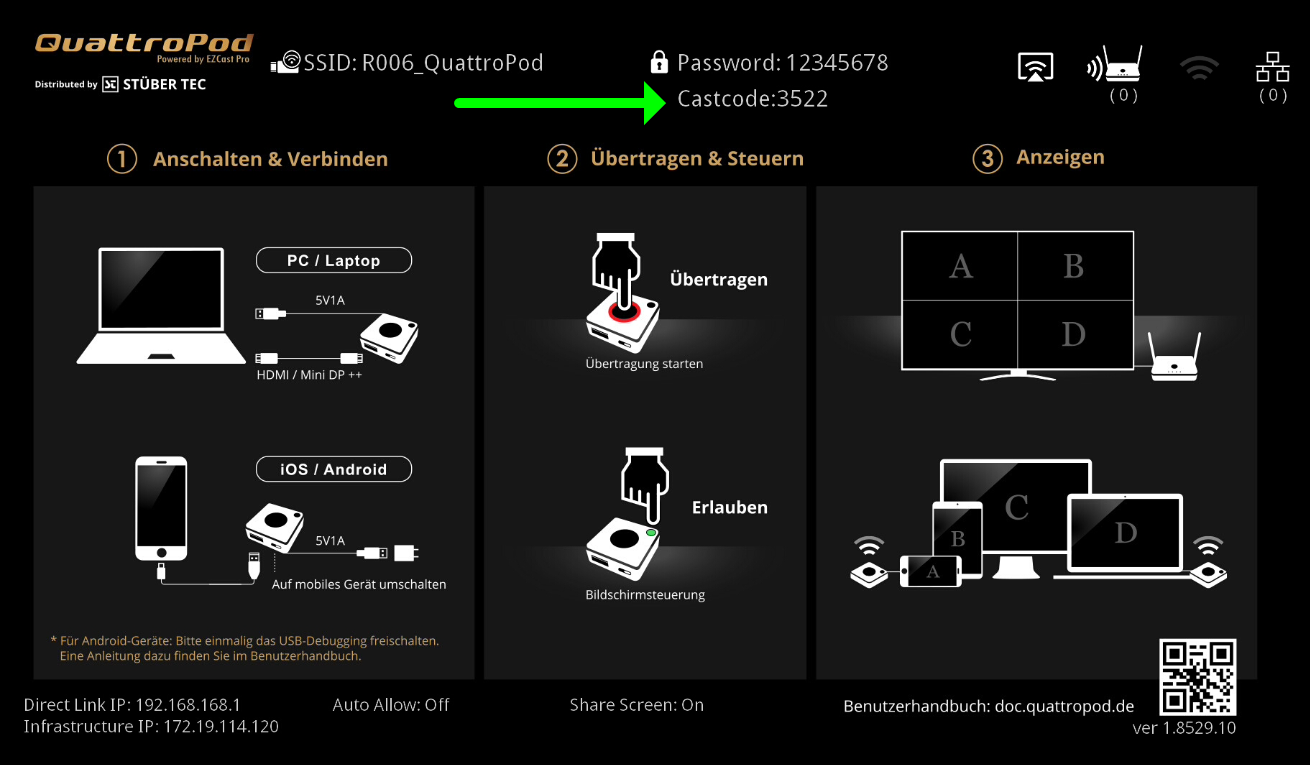
A full guide on using the cast code and other security codes can be found here.
Upgrade
You can update the firmware of the receiver and transmitters to use the latest features. A full upgrade guide is available here.
Multicast
Use this feature to launch the receiver in multicast mode. Full guide here.

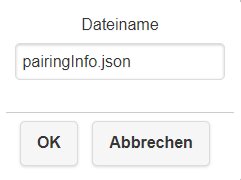
Download Pairing File
Download the pairing file to link a transmitter with the receiver via USB stick—especially useful if the receiver is ceiling-mounted or hard to reach. More info in Pairing transmitters.
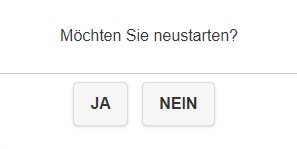
Restart
Use this function to restart the receiver.
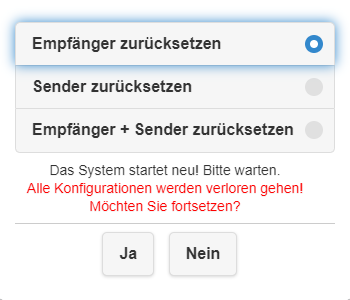
Reset to Factory Defaults
Use this function to reset the receiver and transmitters to factory settings. This does not affect the background image, the SSID, or the firmware version.
If your transmitter doesn’t activate after reset, check the receiver setup and pair the transmitter again.
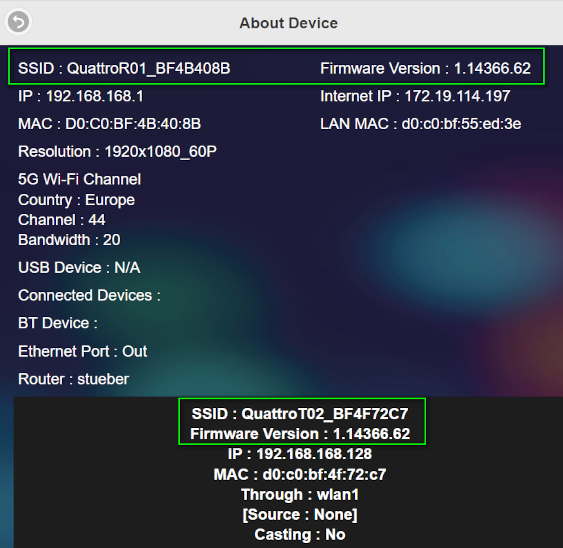
About the Device
Use this option to get an overview of the QuattroPod, all connected transmitters, and related network information.